User manual
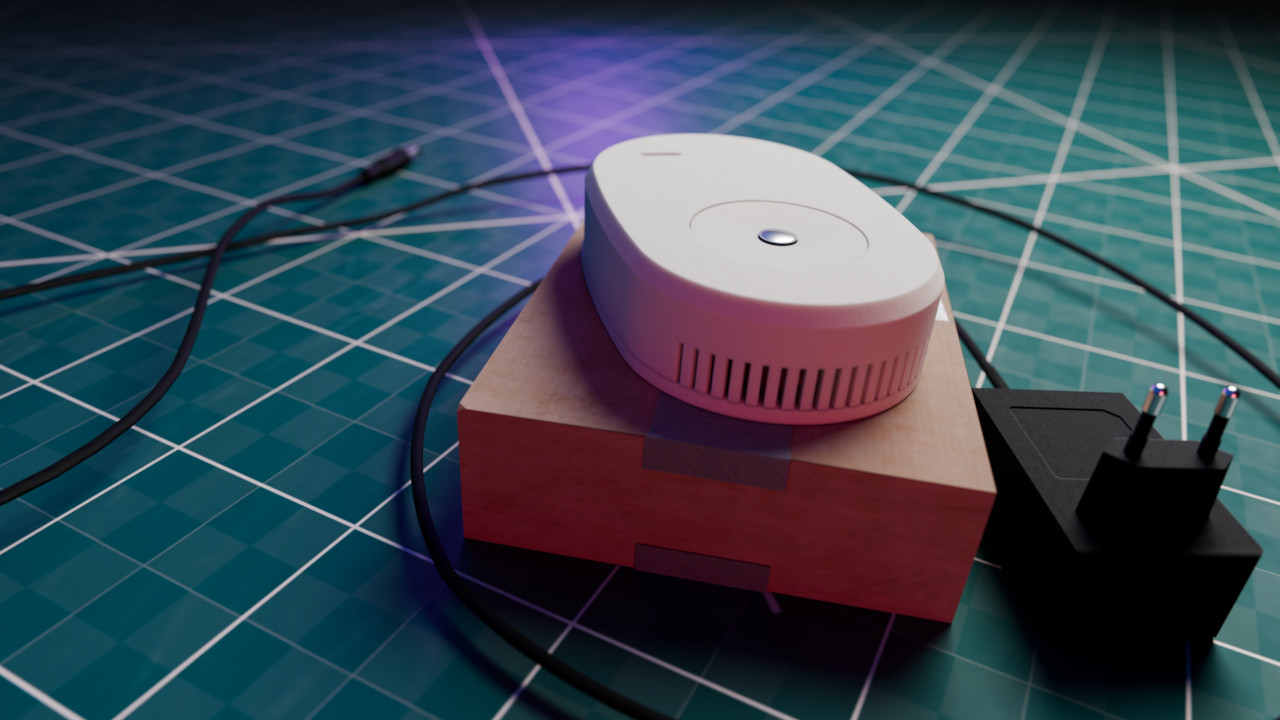
Package contents
- Edgesensor eval kit
- DC power supply (5V, 3A)
- USB-UART converter cable
Power up
- Connect the power supply to the Edgesensor with the barrel jack connector.
- Plug the power supply into the power outlet.
- For best performance, leave the room for 5 minutes after starting the device.
- The device starts automatically after the power is supplied.
- Wait until the device starts flashing red.
Wi-Fi configuration
First use
After switching on, the device creates a Wi-Fi network.
Wi-Fi credentials |
|
| SSID | Edgesensor |
| Password | edge1234 |
| Hostname | edgesensor |

-
Connect your PC or Smartphone to the Wi-Fi.
- Since there is no internet connection available on this network, make sure that your device has not switched back to another Wi-Fi network after connecting.
-
Open the following URL in the browser: http://edgesensor.local/
If URL is not available
- Try opening http://192.168.2.1/
- This only works when the Edgesensor is in hotspot mode.
- Open Settings and enter the height of the room and the use case of the device.
- Open WiFi settings from the navigation bar
- Set the Hostname field
- Be sure to give the Edgesensor a unique name.
- Click Save
- After the change, the device will be available at http://new-name.local/ where the new-name represents the hostname you chose.
- It may take some time for the change to take effect.
- Open WiFi settings from the navigation bar
- Select WiFi Client
- Enter your network SSID and password (if protected).
- Click Save
- Your device will soon connect to the specified network. In case of failure, you can reset the Wi-Fi settings. See Reset Wi-Fi configuration.
-
You can access the device via the hostname on the new network.
- If you haven't changed the hostname, then http://edgesensor.local/
- Open WiFi settings from the navigation bar
- Select Wi-Fi Hotspot
- Enter your network SSID and password (if protected).
- Click Save
- Your device will soon create a hotspot. In case of failure, you can reset the Wi-Fi settings. See Reset Wi-Fi configuration.
-
In hotspot mode, the address of the device is http://192.168.2.1
- You can access the device via the hostname on the new network too.
- If you haven't changed the hostname, then http://edgesensor.local/
MQTT 
Connect to MQTT broker
- Open the Edgesensor web interface.
- Connect the device to the network through which the MQTT broker is available. (See Wi-Fi configuration)
- Make sure the Edgesensor is on the same network as the MQTT broker.
- Open the MQTT settings from the navigation bar
- Enable MQTT
-
Enter the MQTT broker address, port, and device name
- The name of the device can be defined by the user.
- If authentication is required, check Authentication and enter the username and password.
- Click the Save button
MQTT Topics
The device can connect to an MQTT broker. The Edgesensor publishes messages on the following topics:
-
Connectivity:
- Topic: edgesensor/DEVICE-ID/connectivity
truethe device connected,falseotherwise.
-
Motion:
- Topic: edgesensor/DEVICE-ID/motion
trueif there is motion in the room,falseotherwise.
-
Occupancy:
- Topic: edgesensor/DEVICE-ID/occupancy
trueif they are in the room,falseotherwise.
-
People count:
- Topic: edgesensor/DEVICE-ID/peopleCount
- A single number representing the number of people in the room.
-
Zones
- Topic: edgesensor/DEVICE-ID/zone/ZONE-INDEX
- The device can monitor up to 6 zones.
- The zone index is a number between
0and5. The device periodically updates the number of people in the zone. - If you only set fewer zones, the device will publish
0for the remaining ones.
Home Assistant integration
-
Open Assistant web interface
- Change your server address if necessary.
- Log in if necessary
- Click Ok to set up MQTT
- Choose Use the official Mosquitto MQTT Broker add-on
- Click Finish
- Open the Home Assistant web interface
- Navigate to Settings Add-ons Add-ons store
- Find the Mosquitto broker plugin, install it, and start it.
- Navigate to Settings Devices & services
- Click on Add integration and search for MQTT
- Select MQTT
- Choose Use the official Mosquitto MQTT Broker add-on
- Click Finish
Troubleshooting
Reset Wi-Fi configuration
You can restore the default network configuration at any time by pressing the reset button or
Connect INP2 with GND
Home Assistant IP address
You can find out the IP address of your Home Assistant server with the IP integration.